3. How to print
You actually use a different command to print depending on which spooling software you use.
3.1. With BSD LPD and the lpr command
If you've already got lpd setup to print to your printer, or your system administrator already did so, or your vendor did so for you, then all you need to do is learn how to use the lpr command. The Printing Usage HOWTO covers this, and a few other queue manipulation commands you should probably know. Or just read the lpr(1) man page.
In a nutshell, you specify the queue name with -P, and specify a filename to print a file, or nothing to print from stdin. Driver options are traditionally not controllable from lpr, but various systems accept certain options with -o, -Z, or -J.
3.2. With System V LPD and the lp command
There are two sets of commands that you may encounter if you have to deal with several brands of Unix. The BSD based LPD print system (*BSD, Linux) uses lpr (print),lpq (display queue),lprm (remove jobs). System V based systems on the other hand use lp (print), lpstat (display queue), cancel (remove jobs). Solaris, SCO and others are System V Unix systems.
On SYSV systems, you can of course consult the man page of the lp command. To specify a queue you use the -d option and a filename to print a file, or nothing to print from stdin.
3.3. With CUPS
CUPS provides both the System V and Berkeley command-line interfaces. This means that you can use either lpr or lp to print. This is really nice if you have a bunch of scripts that already use eg. lp or you have prior experience with either a System V or a BSD flavor.
3.4. GUI Printing Tools
Most spooling systems alone offer only a rather basic command-line interface. Rather than use lpr directly, you may wish to obtain and use a front-end interface. These generally let you fiddle with various printing options (the printer, paper types, collation, n-up, etc) in an easy-to-use graphical way. Some may have other features, as well.
3.4.1. KDEPrint
KDEPrint allows users access to printing subsystems (CUPS, LPD, RLPR, LPRng etc.) through a KDE graphical user interface. With KDEPrint, you can easily print, administer jobs and printers and the printing daemon. KDEPrint is a replacement for the old QtCUPS and KUPS. It is easy to use for both developers and users. KDEPrint is already a part of KDE since 2.2.0 and has several nice features.
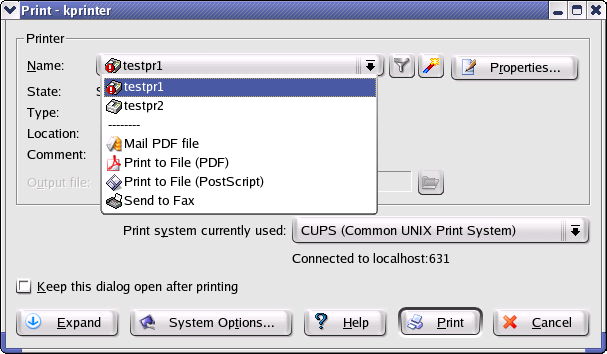
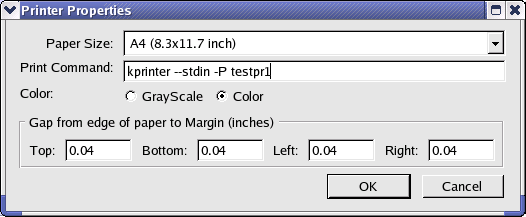
kprinter is the print dialog of KDEPrint which allows you to select the destination printer and change printer options. Among the destination printers, there are a few virtual printers allowing you to print to email, fax or pdf.
You can use KDEPrint's kprinter in any application that lets you configure your print command. Examples of these are Mozilla and OpenOffice.
KDEPrint also features a Print Preview. that you can select from the Print Dialog. This is accomplished by passing the print file through the filters which make it suitable for displaying on screen using KGhostView or an external application like gv.
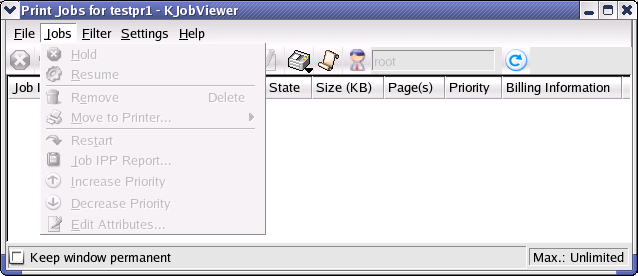
The KDEPrint Job Viewer KJobViewer allows you to view, move and cancel print jobs.
You can find more information about KDEPrint at http://printing.kde.org/.
3.4.2. XPP
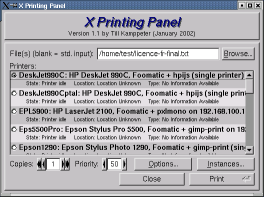
Another good choice for CUPS is the program XPP (see Figure 4). XPP is built from the FLTK library and is therefore desktop agnostic.
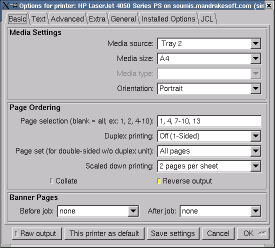
To print with XPP, simply run the xpp program, and specify a file (or nothing, if you're using xpp in place of lpr to print from stdin). Then select a printer from the list of configured printers, and select any options you'd like to apply from the various tabbed panels. See Figure 5 for an example options panel highlighting the standard CUPS options.
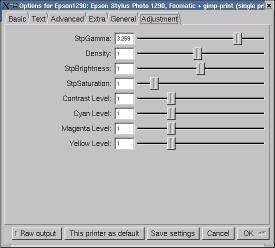
When used with Foomatic driver interface system, XPP will also let you control numeric parameters not normally supported by CUPS. This typically includes such things as extended color tuning, cartridge alignment, and so forth. See Figure 6 for an example of this.
You can save your selected printer and all the options with the `Save Settings' button.
3.4.3. GPR
GPR, by Thomas Hubbell, uses code from CUPS to filter Postscript jobs and offer easy user control over job options. Some options (like n-way printing, page selection, etc) are implemented directly by GPR, while most others are implemented by the printer or by the spooler's filter system.
GPR works with LPD or LPRng; or can be compiled specifically for use with GNUlpr. When compiled normally, it uses VA's libppd directly to produce printer-specific PostScript which it will then submit to the lpr command. When compiled for GNUlpr, it will submit your unmodified Postscript job to the lpr command, along with the set of job options you specify. This is arguably the better route, since it allows the Postscript to be redirected to a different printer by the spooler when appropriate; unfortunately it requires GNUlpr, which is not in wide circulation (although it is of course trivial to install).
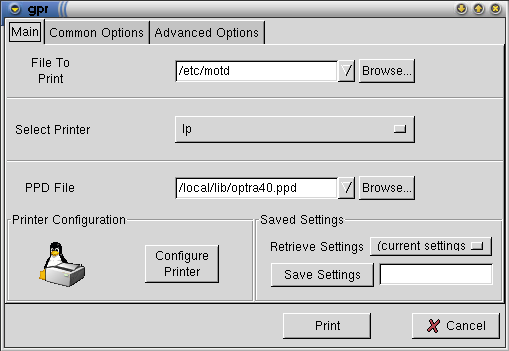
To use GPR, first select a printer (by LPD queue name) and check that GPR has loaded the proper PPD file. If it hasn't, you'll need to specify the PPD filename, and specify your printer's options in the Printer Configuration dialog (you get this dialog by pressing the Printer Configuration button; it contains assorted printer setup options defined by the PPD).
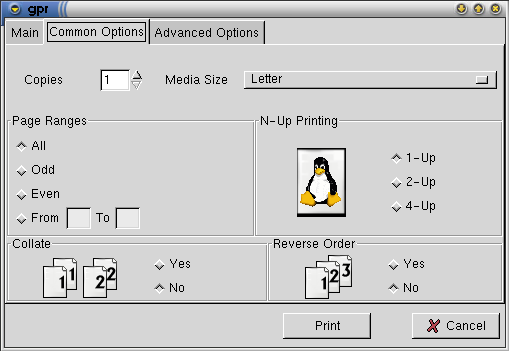
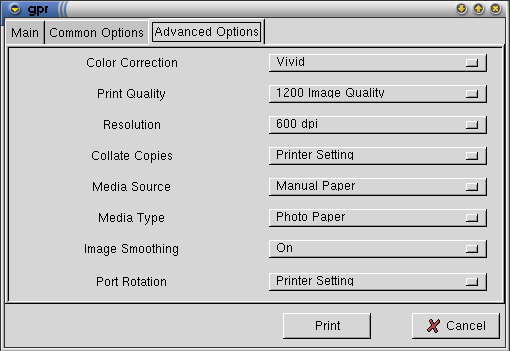
Once you've configured your printer in GPR, you can print jobs by specifying the filename and selecting the proper options from the `Common' and `Advanced' tabbed panels. The `Common' options are implemented directly by GPR for all printers, while the `Advanced' options are defined by the PPD file for your printer. You can see these option panels in Figure 8 and Figure 9.